Planning lighting for a kitchen remodel means mapping your work zones first, then layering ambient, task, accent, and decorative light over them. Lock in fixture locations before drywall goes up, choose a color temperature between 2700K and 3500K, and put every layer on its own dimmer. Design first, shop second.
Lighting is the system homeowners notice last and regret first. We’ve walked into finished kitchens where the quartz was flawless and the cabinetry was custom, and the room still felt flat and cave-like because the electrical plan was an afterthought. Good kitchen remodel lighting doesn’t happen in the fixture aisle. It happens on paper, months earlier, while you still have the freedom to move a junction box six inches.
Start With How You Actually Use the Room
Before anyone talks about fixtures, walk your floor plan and mark the places where your hands do work. The sink. The range. The prep counter. The island where homework happens and where someone inevitably stands chopping onions with their back to the ceiling can.
Those zones drive everything else. A kitchen that hosts dinner parties needs different accent and dimming capability than one that’s mostly a weekday breakfast station. We ask clients a blunt question early on: what do you do in here after 8 p.m.? The answer usually reshapes half the plan.
The Four Layers That Make a Kitchen Work
Professional lighting design isn’t one light source doing everything. It’s four layers, each with a job, stacked so the room can shift moods without rewiring.
Ambient Light
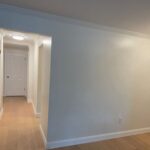
This is your general fill, the light that keeps the room from feeling like a tunnel. Recessed cans, flush-mount fixtures, or a large center pendant usually handle it. Spread it evenly and keep it soft. Ambient light should make the space feel open without casting the harsh, flattening glare of a single ceiling fixture.
A ceiling fixture handling the general fill. Spread ambient light evenly and keep it soft so the room feels open, not glaring.
Task Light
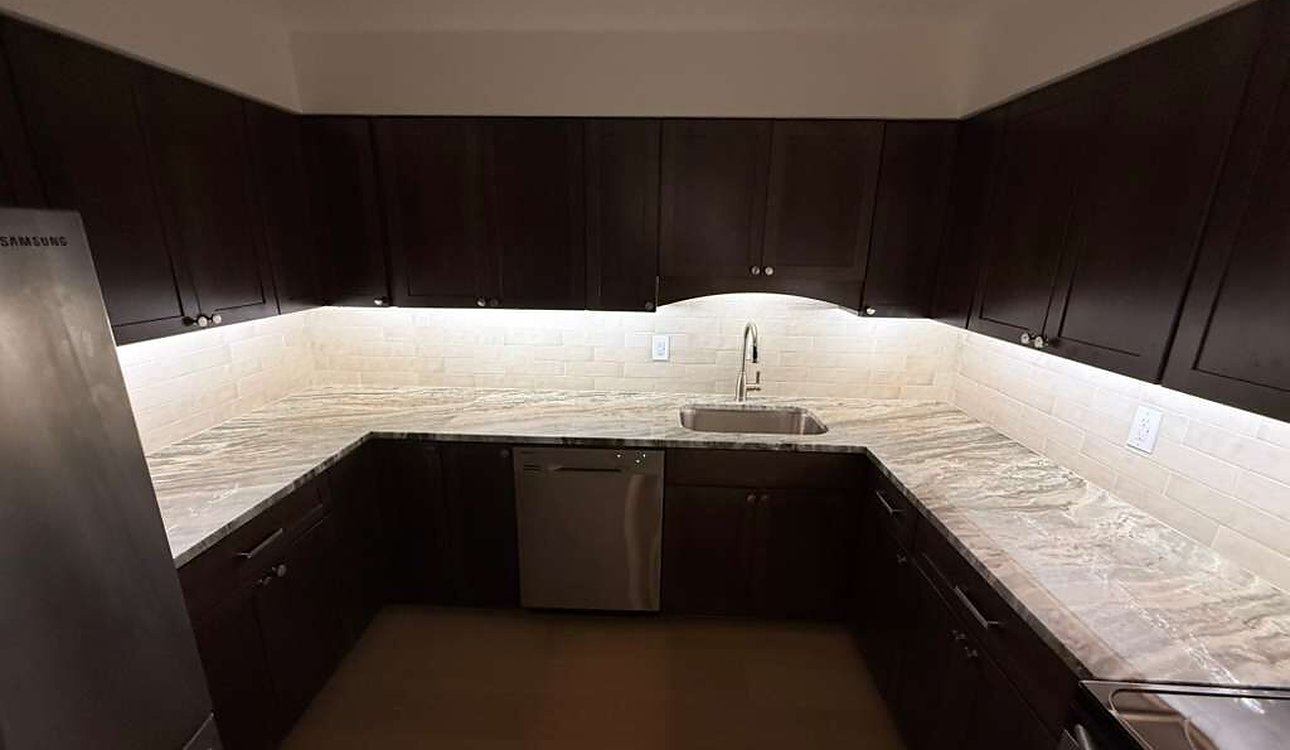
Task lighting is the layer people underestimate most. Under-cabinet strips, pendants over an island, and a dedicated fixture above the sink put light where you’re actually cutting, reading, and rinsing. Without it, your own body blocks the ceiling light and you end up prepping food in your own shadow. If you cut one thing from your budget, don’t make it this.
Accent Light
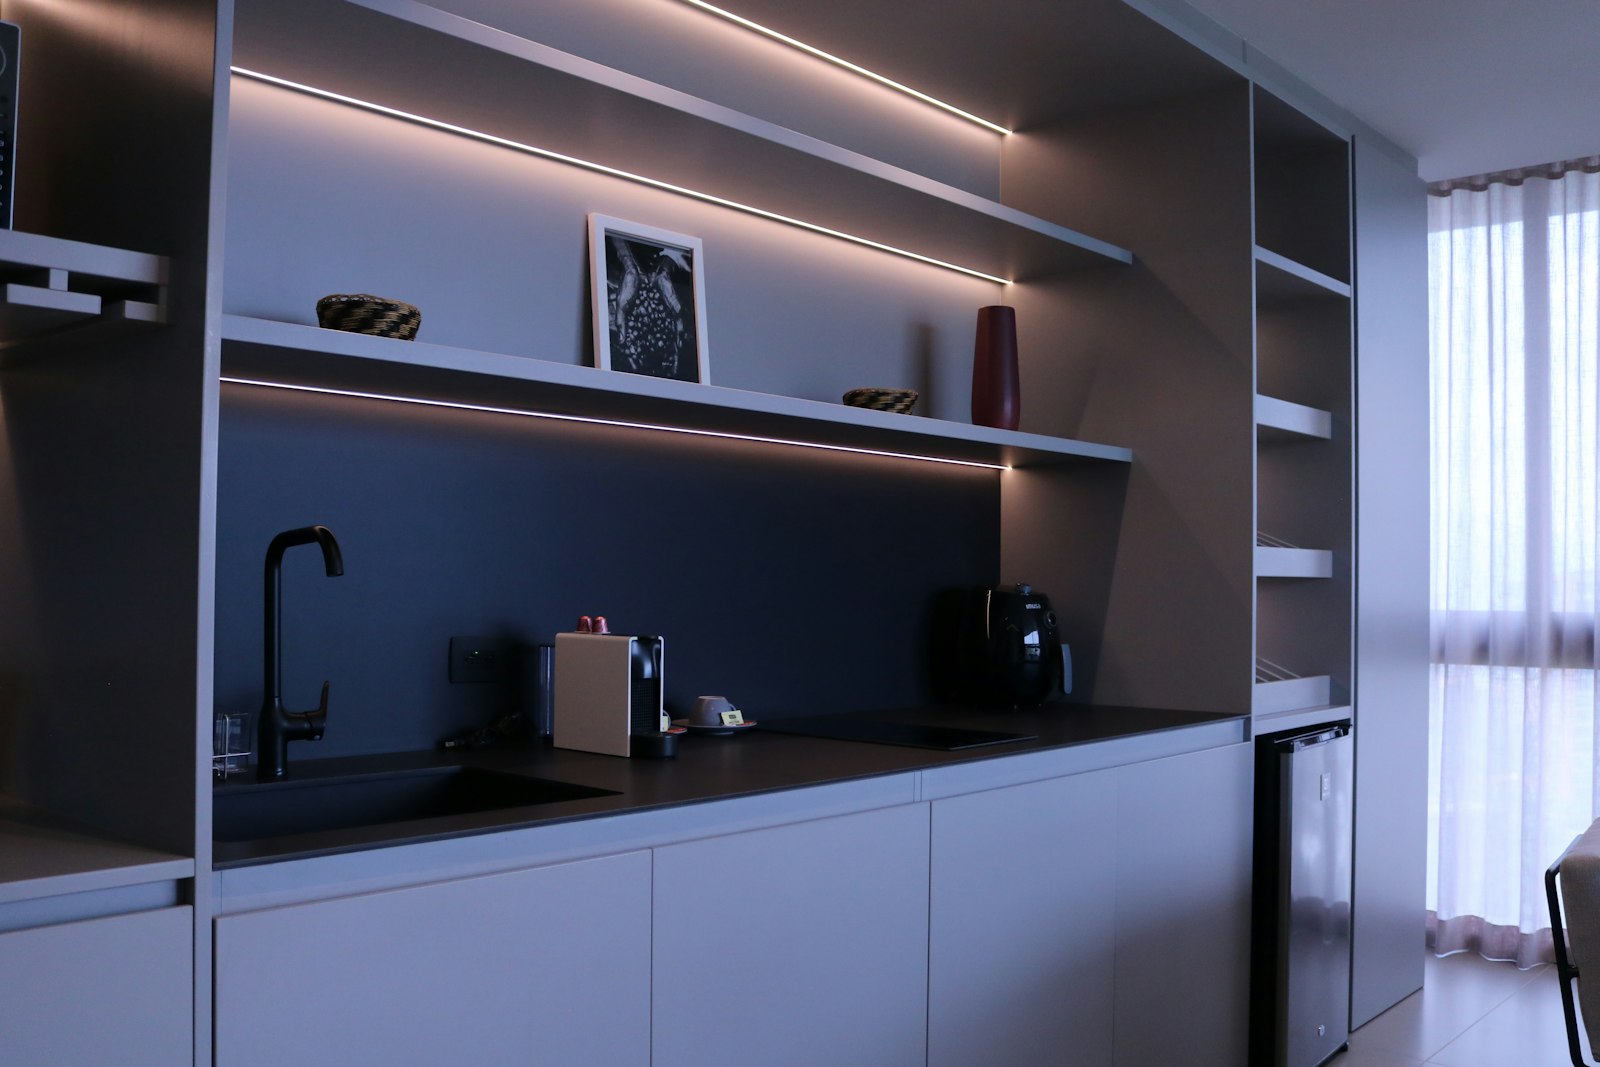
Accent lighting adds dimension. Think in-cabinet lighting behind glass doors, toe-kick strips that make an island appear to float, or a small picture light over open shelving. It’s not strictly functional. It’s what separates a kitchen that looks finished from one that looks merely complete.
Decorative Light
These are the fixtures people see first: pendants, a small chandelier over a breakfast nook, sconces flanking a range hood. Decorative pieces are there for style, not illumination. Choose them for style, then make sure another layer is carrying the real workload.
How to Plan Lighting for a Kitchen Remodel Room by Room
Here’s where measurements matter more than taste. Fixture spacing is math, and getting it wrong is expensive to fix after the ceiling is closed. Use this as a starting framework, then adjust for ceiling height and cabinet depth.
| Location | Fixture type | Placement guideline |
|---|---|---|
| General ceiling | 4″ or 6″ recessed LED | 4 to 6 feet apart; 24 to 30 inches off wall cabinets |
| Island | Pendants | 30 to 36 inches above countertop; 24 to 30 inches apart |
| Under cabinets | LED strip or puck | Mounted at front edge of cabinet, not the back |
| Sink | Recessed or mini pendant | Centered on the basin, 6 to 12 inches forward of the wall |
| Dining nook | Chandelier or pendant | 30 to 34 inches above table surface |
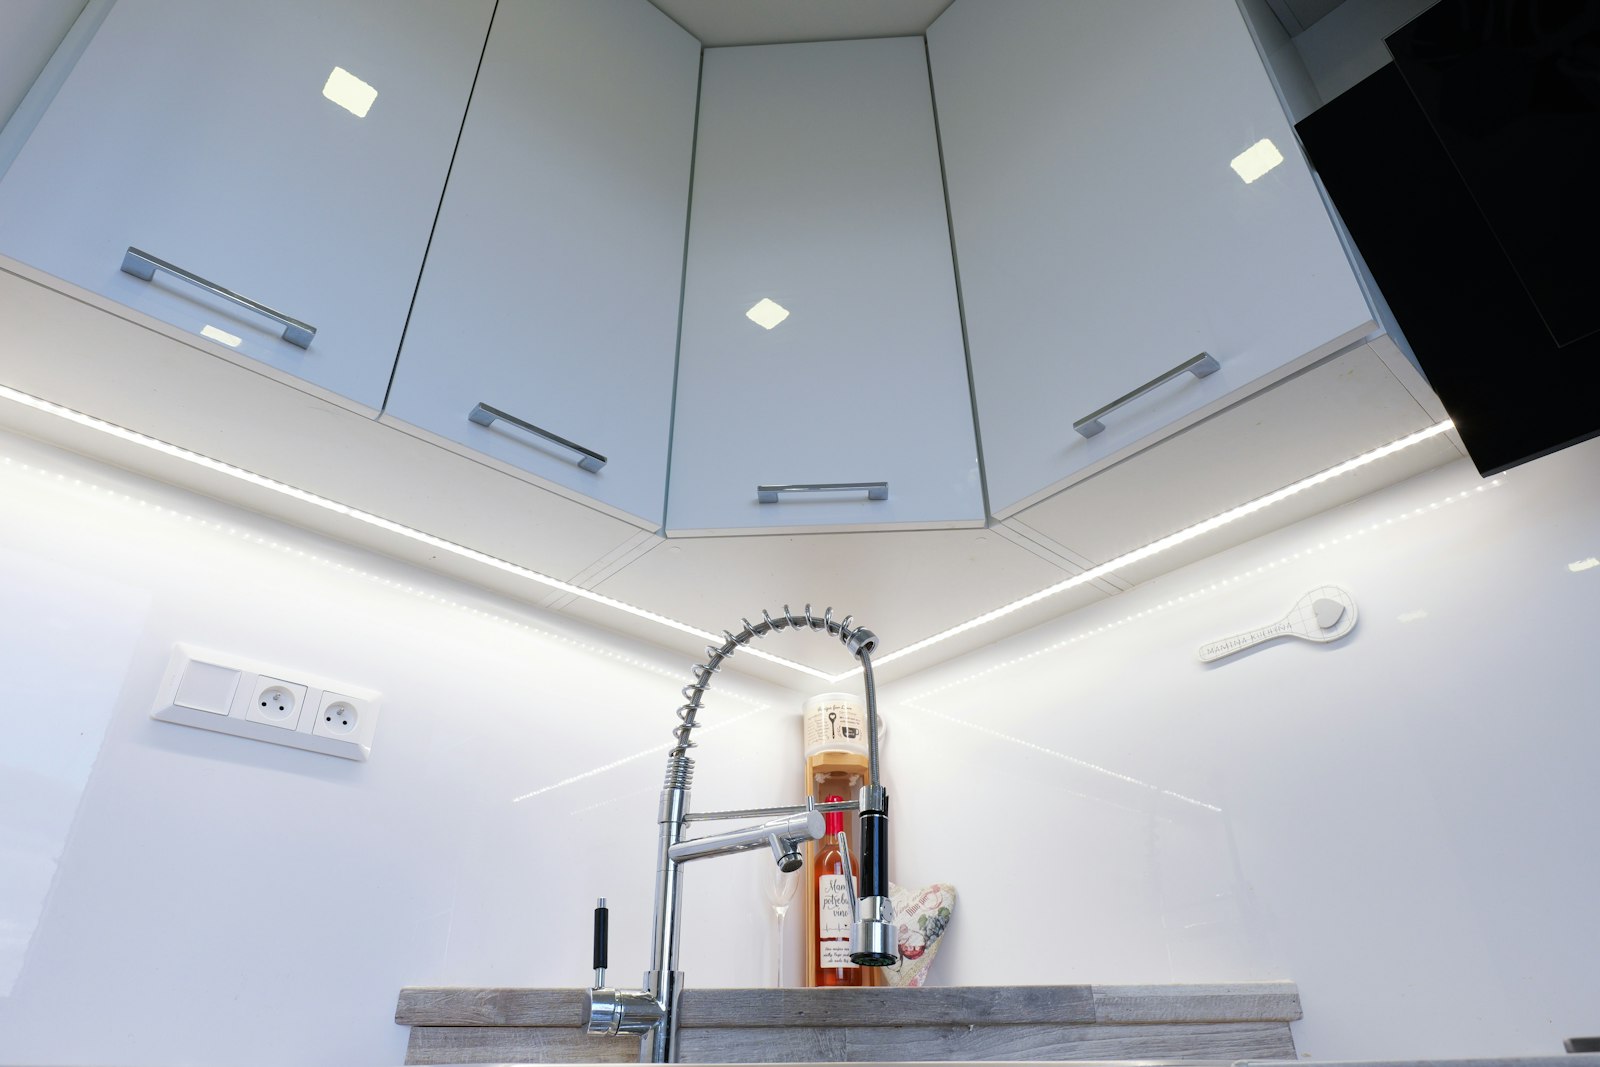
One detail worth repeating: mount under-cabinet strips toward the front edge of the cabinet, not shoved against the backsplash. Rear-mounted strips throw a hot glare line up the wall and leave your work surface dim. Front placement puts light on the cutting board, which is the whole point.
Getting Color Temperature and Brightness Right
Color temperature quietly determines whether your kitchen feels welcoming or clinical. Anything from 2700K to 3000K reads as warm and residential. Push to 3500K for a crisper, more contemporary feel, but go past 4000K and you’re in commercial territory, which is not what most homeowners want in a kitchen.
Brightness deserves the same attention. Kitchens generally want 30 to 40 lumens per square foot for ambient light, and closer to 70 to 80 in task zones. Look at lumens, not watts, since LEDs broke that old comparison years ago. The Department of Energy’s guide on energy-efficient lighting choices is a solid, non-commercial primer if you want to understand the tradeoffs. Also check the CRI rating. Anything at 90 or above renders food colors accurately, which matters more than it sounds.
Dimmers and Controls Are Not Optional
Every lighting layer should be independently switched and dimmable. That’s the single upgrade that returns the most satisfaction per dollar. It costs modestly during rough-in and is a genuine headache to add later.
Group your circuits by function, not by geography. Ambient on one, task on another, accent and decorative on their own. Then you can run under-cabinet lights alone at 10 percent for a midnight glass of water, or bring everything up for a holiday crowd. Confirm your dimmer is rated for the specific LED driver you’re installing. Mismatched pairs are the number one cause of flicker and buzz.
Under-cabinet strips put light on the counter. Outlets and switch locations get planned alongside the lighting, while the walls are still open.
The Mistakes We See Most Often
A few patterns come up on nearly every project we review:
- Choosing fixtures before finalizing the layout, which forces the plan to bend around a pendant instead of the reverse
- Relying on one central ceiling light and hoping for the best
- Mixing color temperatures across layers, so warm pendants clash with cool recessed cans
- Skipping under-cabinet lighting to save a few hundred dollars, then living with dark counters for a decade
- Forgetting to plan outlets and switch locations alongside the lighting plan
None of these are exotic problems. They’re all products of deciding too late.
Bring the Plan Together Before Drywall
Sequence is everything. Your lighting plan should be finalized alongside cabinetry drawings, because cabinet dimensions determine under-cabinet runs and pendant clearances. Walk the space with your electrician during rough-in and stand where you’ll actually work. You’ll catch conflicts a drawing can’t show.
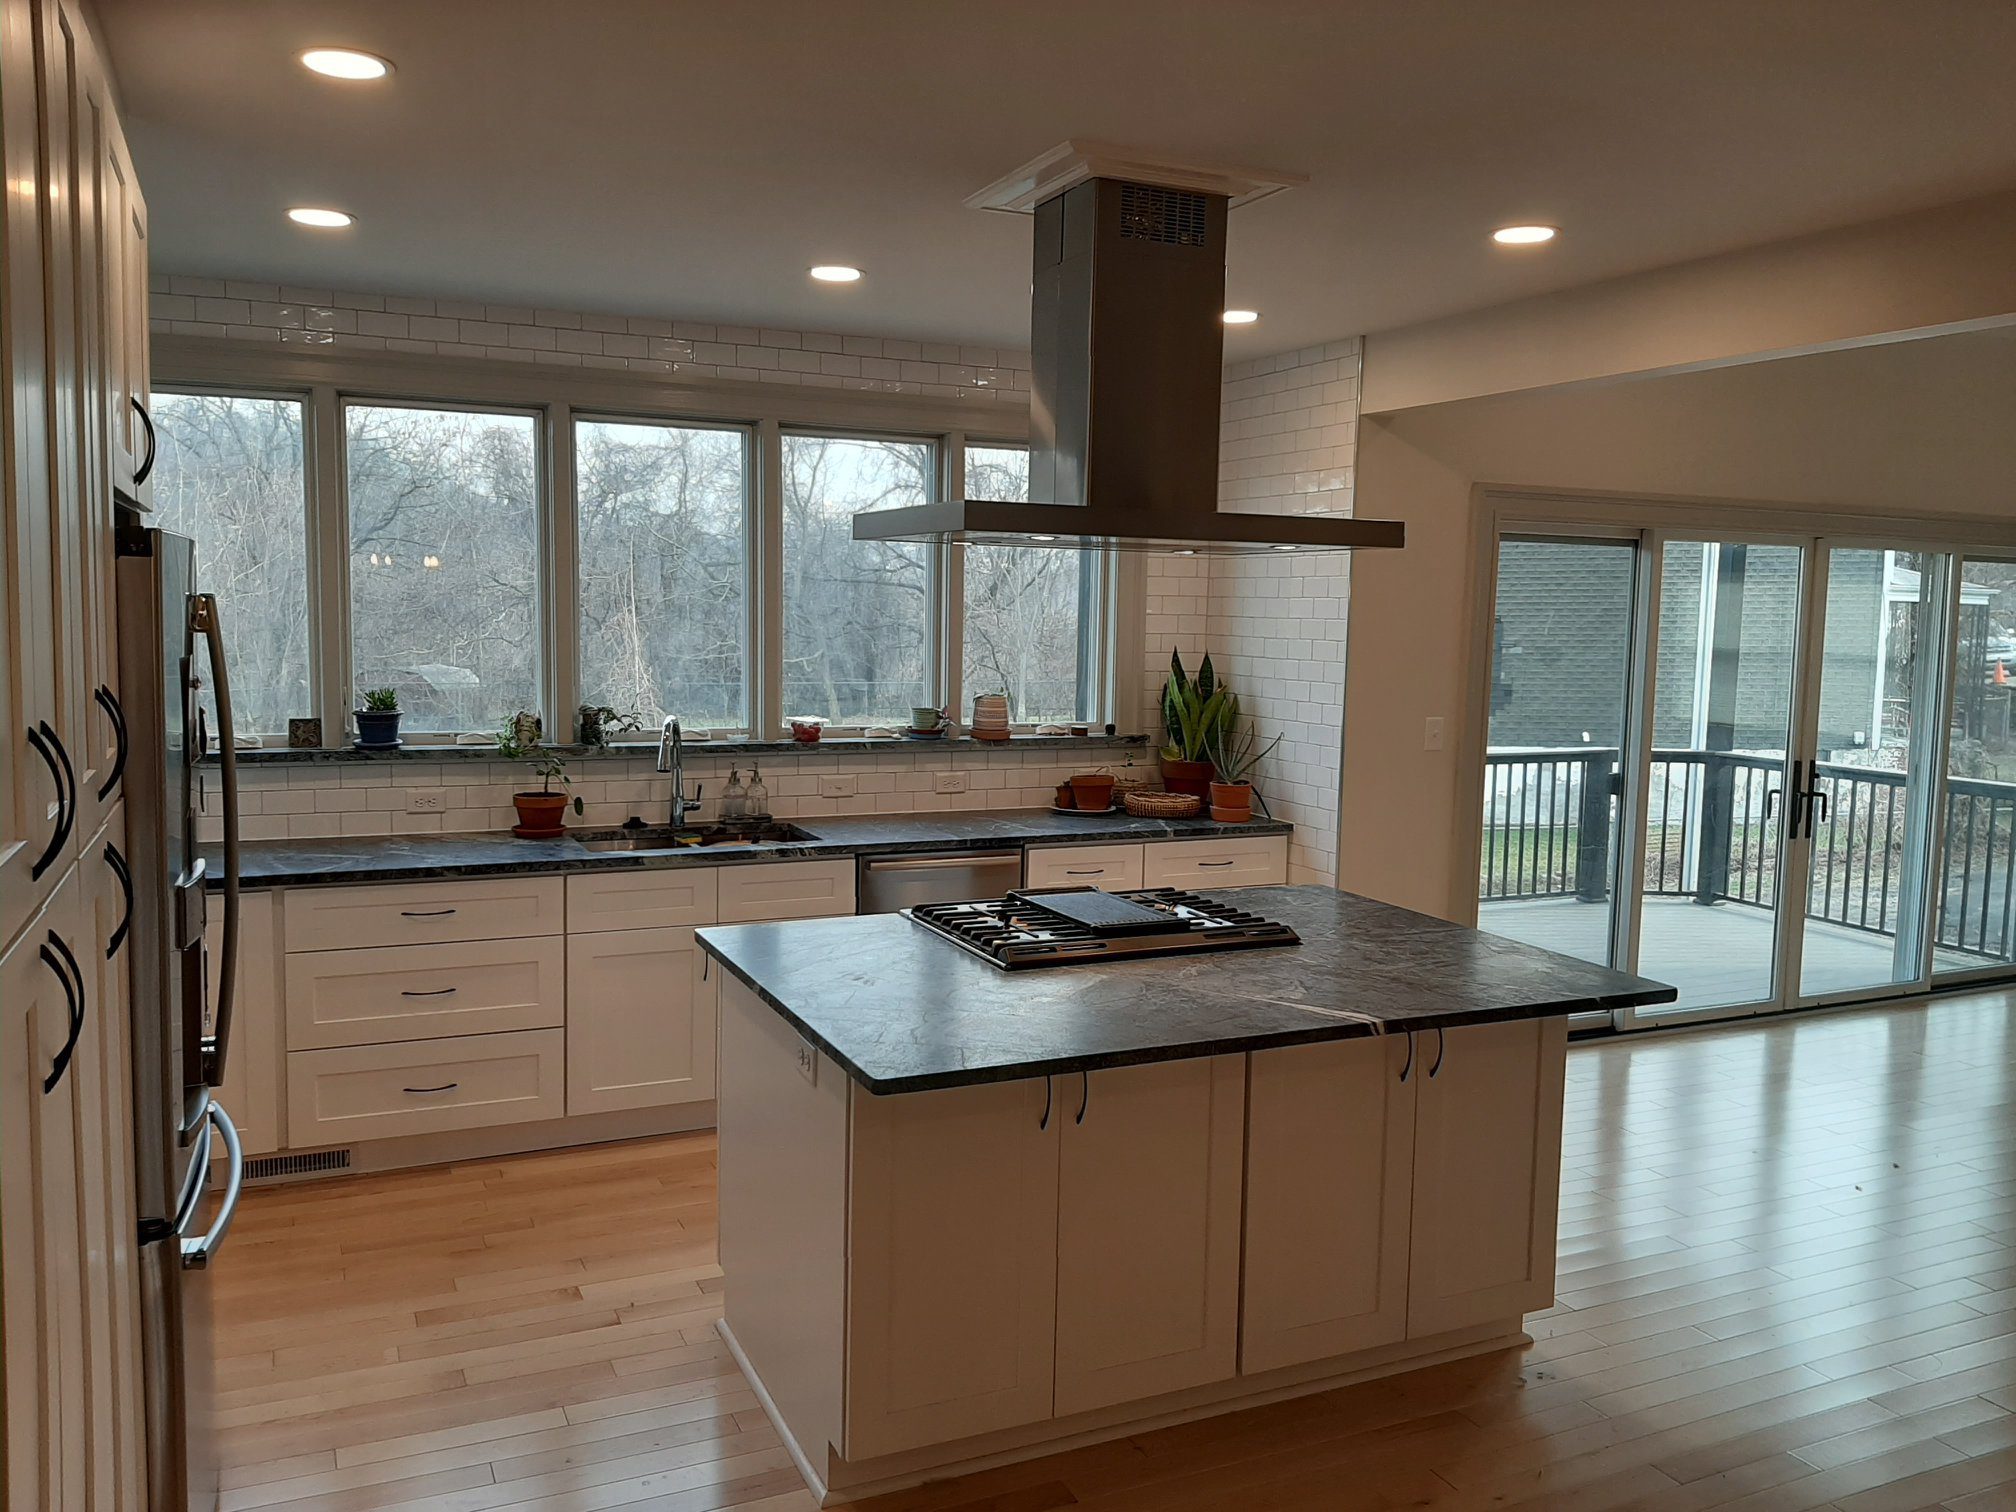
If you want to see how layered lighting reads in a finished space, take a look at this Modern Kitchen & Living Space Renovation, where the ceiling, island, and accent layers were coordinated from the start rather than patched together. Every kitchen renovation Pittsburgh homeowners take on has its own quirks, older homes especially, where ceiling joists and existing wiring dictate what’s realistic. That’s why the walkthrough matters more than the catalog.
An experienced kitchen remodeling contractor should be able to explain not just where each fixture goes but why. If the answer is only “that’s standard spacing,” push harder. Standard spacing doesn’t account for how you use the room.
Plan the lighting before the finishes. Do that, and the finishes you spent months choosing will finally look the way you imagined them.