A shower remodel before and after shows two things: what the space looked like before and what it looks like when the work is finished. The part that decides how long the new shower lasts sits in between, inside the walls, and it never shows up in the final photo.
Below are real before and after photos from two showers our crew rebuilt on the same job: a hall bathroom tub and shower, and a separate shower stall in the basement. Each pair shows the same room, so you can line up the window, the wall and the valve location and see exactly what changed. We also explain what happened between the two photos, because that is what you are really paying for when you hire a crew for bathroom remodeling in Pittsburgh.
A quick note on our labels. Every photo marked Before was taken once the old finishes were already coming out. The photo marked During was taken partway through the work. Every photo marked After shows the finished room. None of them are staged, retouched or borrowed from another job.
Shower Remodel Before and After: A Hall Bathroom Tub and Shower
The first pair is a hall bathroom. In the before photo the room is down to bare studs, the ceiling is open to the insulation above, and the old floor is gone down to the subfloor. The one thing that stays put is the window with the decorative grille, which makes it easy to match the two photos.
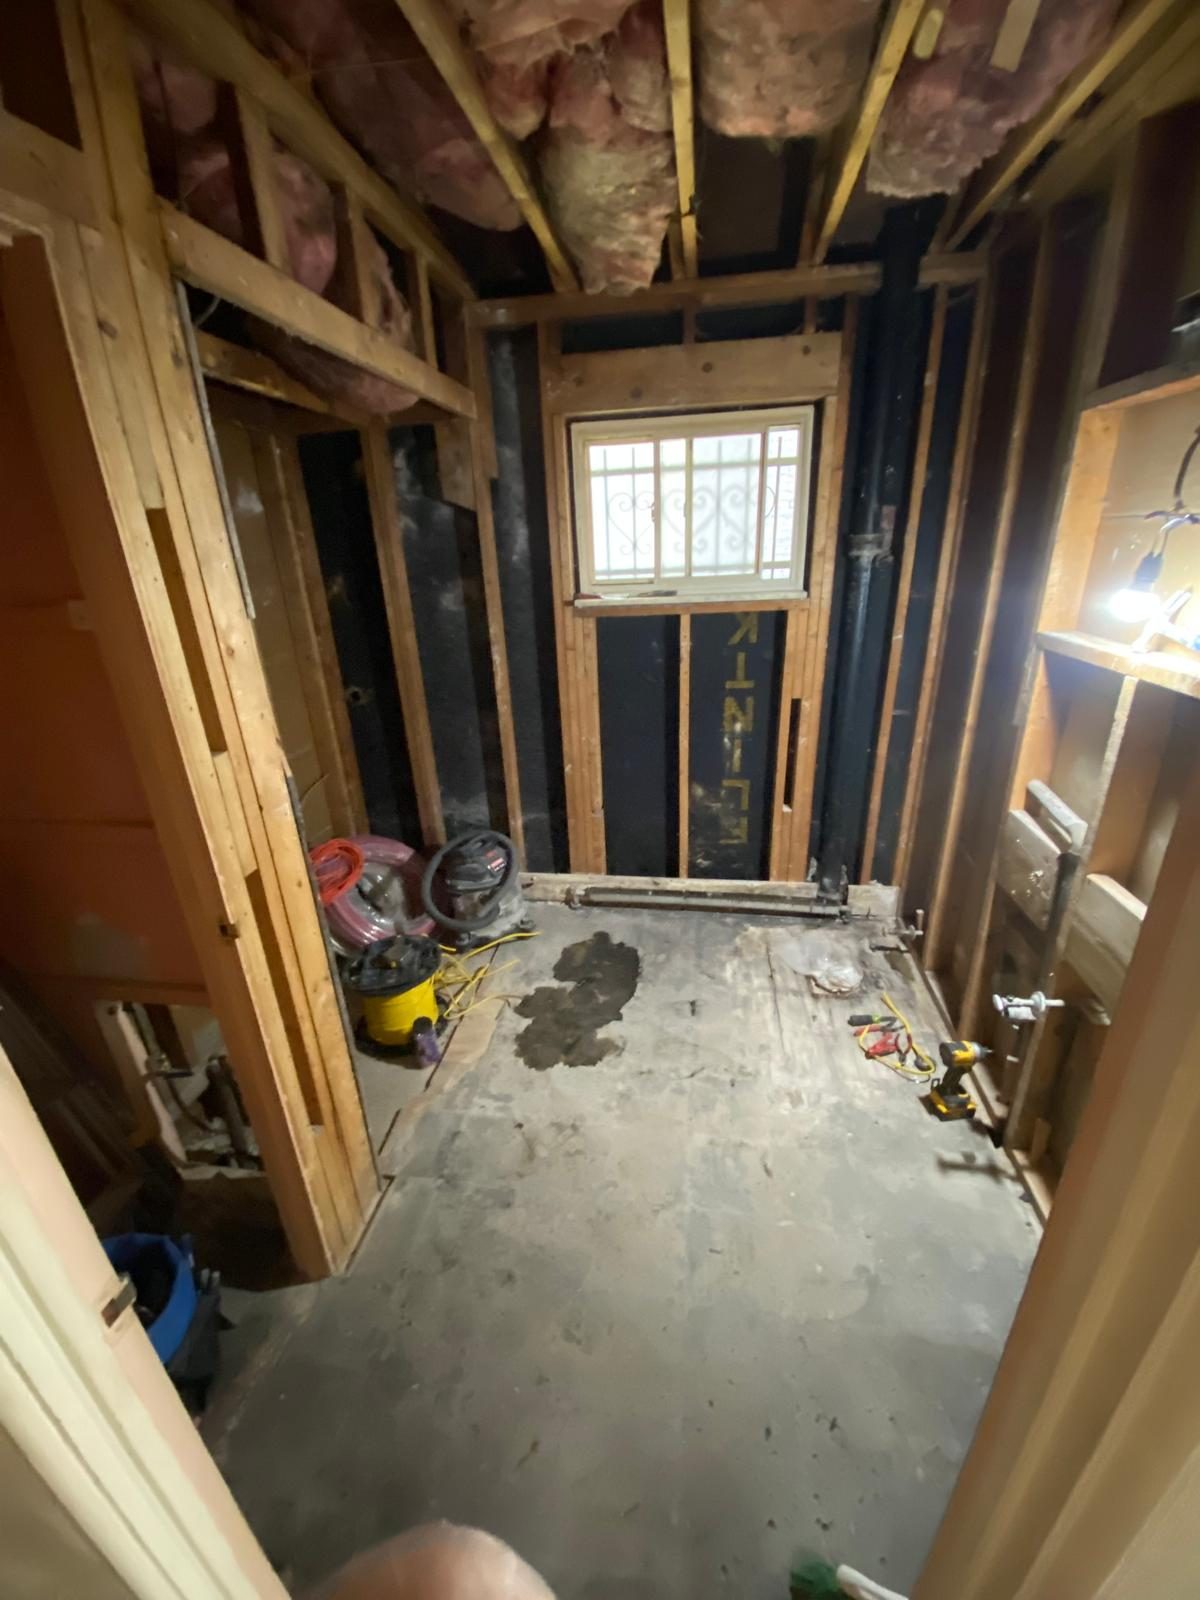
This is the stage most homeowners never see. With the walls open, the crew can check the framing for rot, look at how the old plumbing was run and see whether the subfloor is solid enough for tile or a new tub.
It is also the cheapest moment to change anything. Moving a valve, adding blocking for a grab bar or running a new fan duct is simple when the wall is open and a real job once it is closed and tiled.
Before: the hall bathroom with walls, ceiling and floor opened up. The window on the back wall stays in place.
Here is the same bathroom finished, shot from close to the doorway. The window with the grille is in the same spot on the back wall. Around it there is new drywall painted gray, a white vanity with a mirrored medicine cabinet, a four light fixture above, a toilet under the window and a dark plank floor.
Nothing about the layout moved. The toilet, vanity and tub stayed on the walls they were already on, which kept the plumbing work simpler and let the budget go into finishes you see every day.
After: the same hall bathroom with gray walls, a white vanity, mirrored cabinet and plank floor.

Keeping the layout is one of the most practical shower remodel ideas there is. If you are still deciding whether this room should keep a tub at all, our guide to choosing between a walk-in shower and a tub walks through how to decide.
What Changed Behind the Tub and Shower Walls
A shower renovation before and after looks like a tile job. In practice, the tile is one of the last steps. The second pair from the same hall bathroom shows the tub alcove partway through the work.
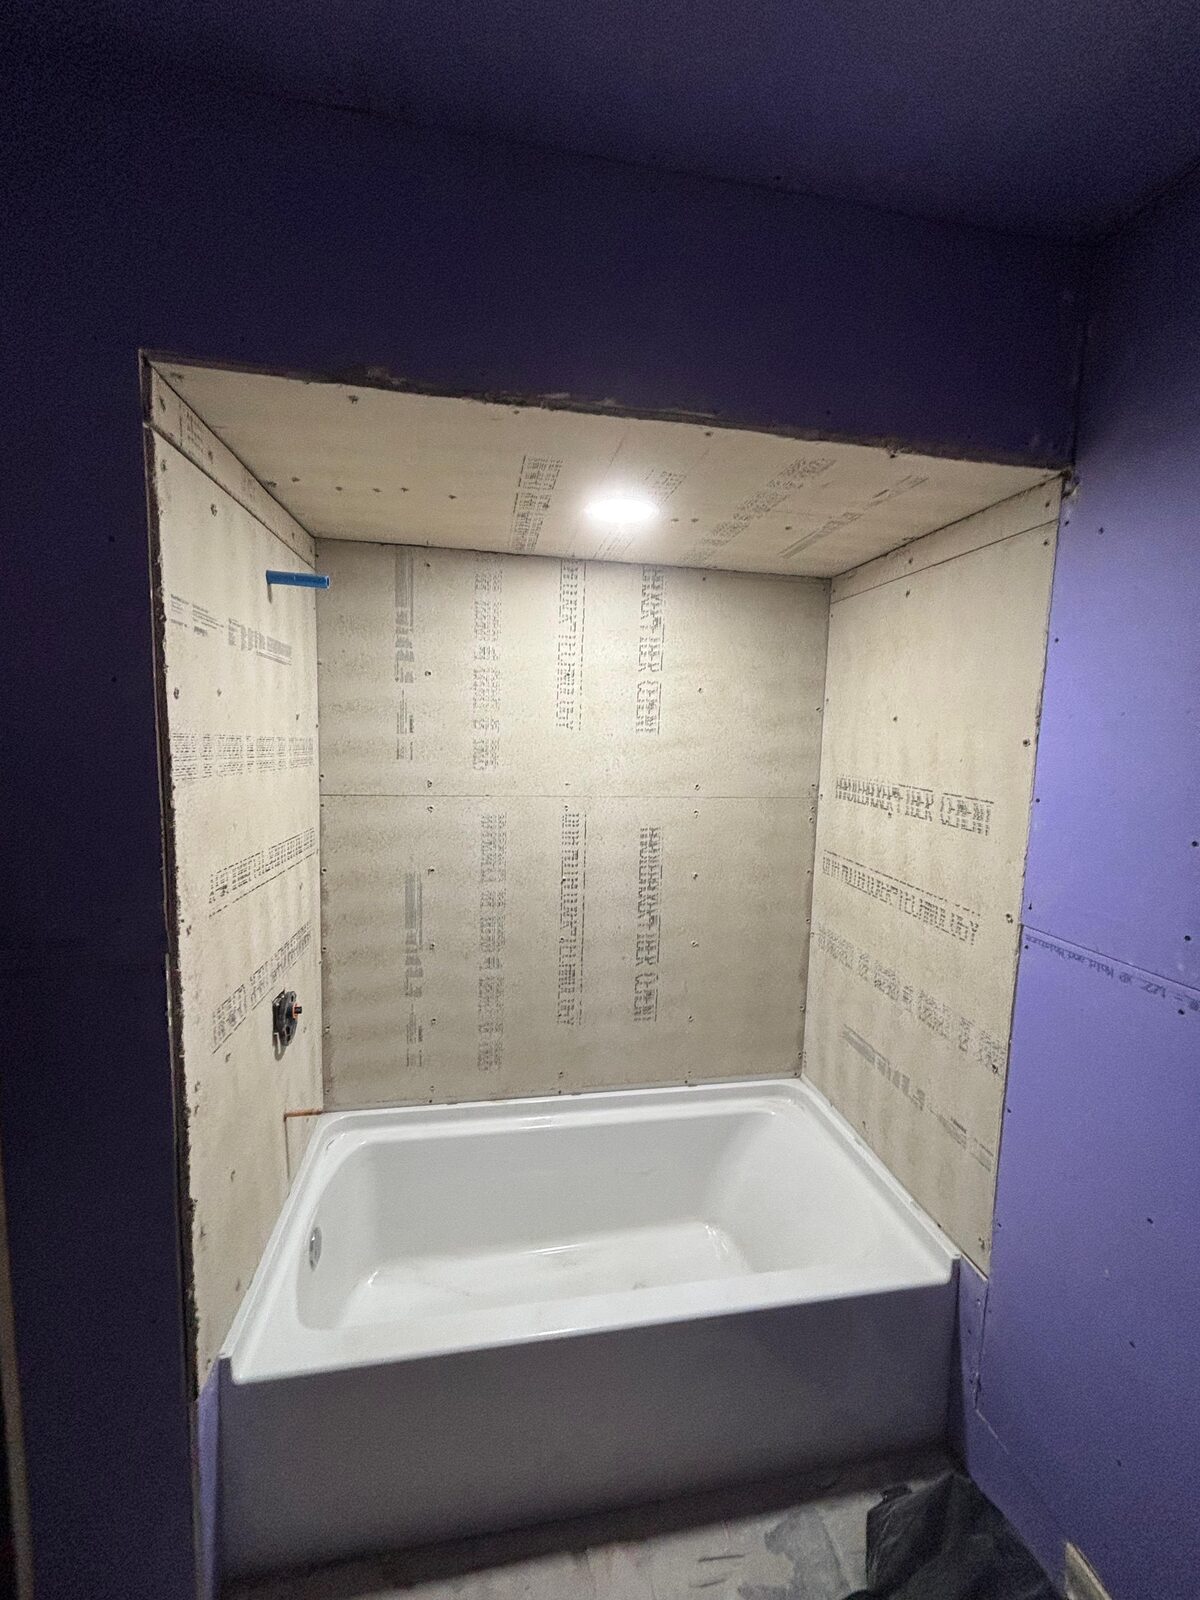
In the during photo the new tub is already set in the alcove, and cement backer board covers the three walls and the ceiling above it. The valve opening is cut on the end wall. By this point the valve height, the shower head height and the drain location have already been set while the walls were open.
Once the tub is in and the walls are boarded, those choices are locked. That is why they belong in the design stage, not on the day the tile arrives.
During: the new tub set in the alcove, with cement backer board on the walls and ceiling before any tile.
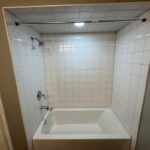
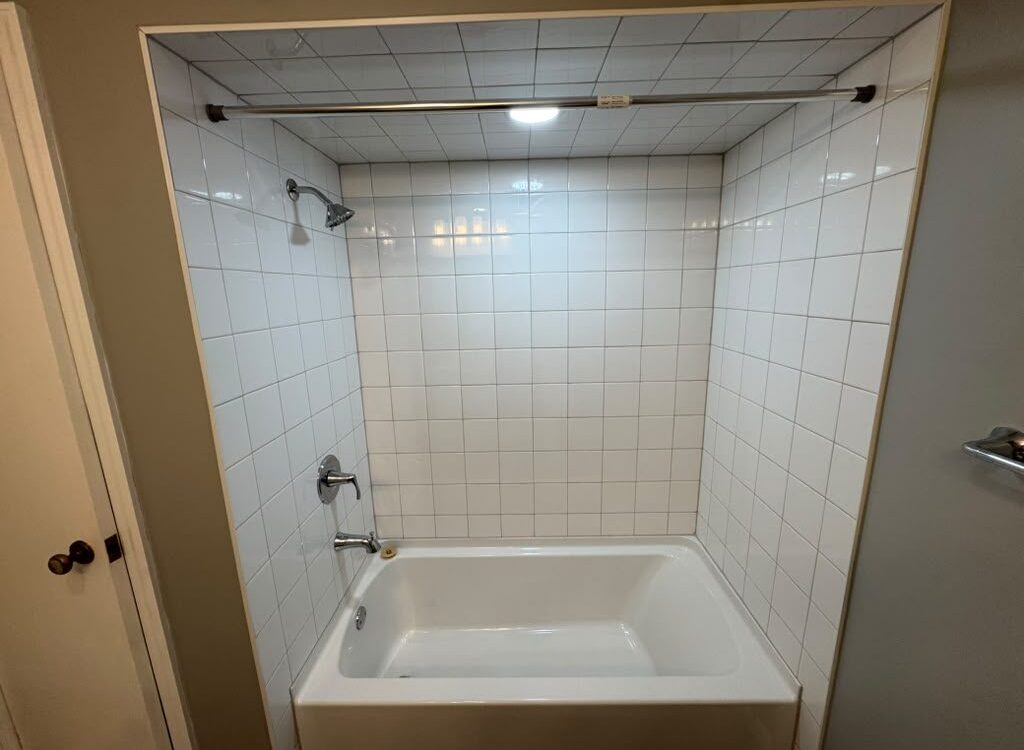
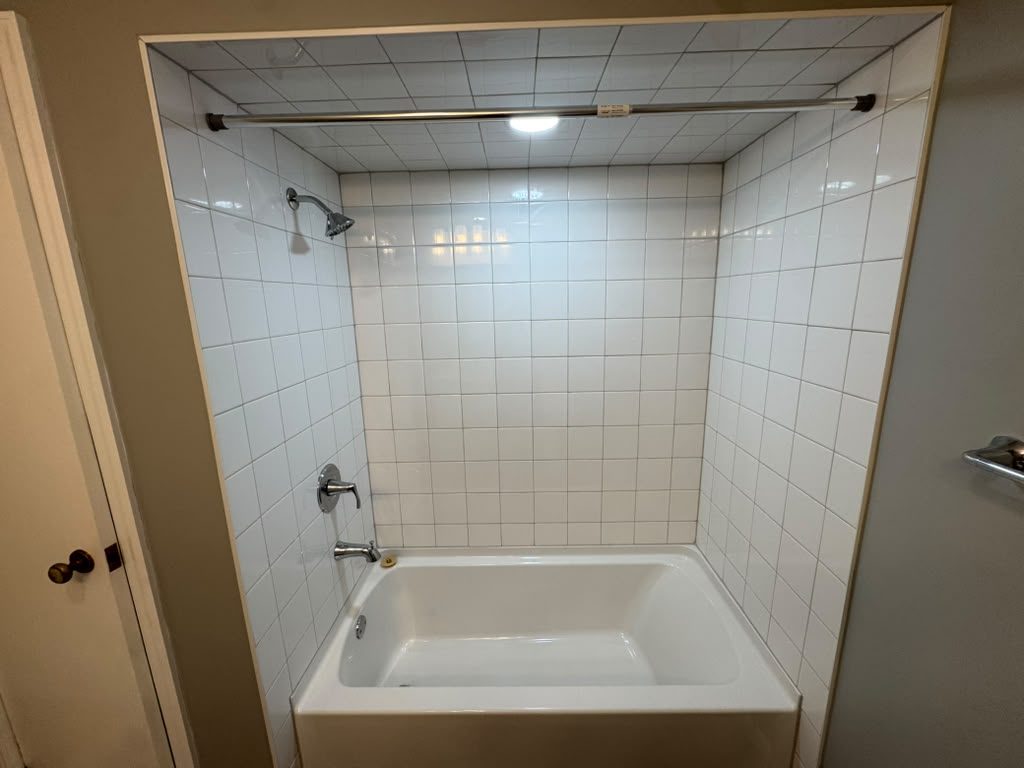
The after photo shows the same alcove finished: a new white tub, square white tile on all three walls and the tile carried right up onto the ceiling. A curtain rod spans the opening, which keeps the room simple and easy to clean.
Tiling the ceiling over a shower is a small detail that makes a big visual difference. There is no painted strip above the tile for steam to peel, and the alcove reads as one clean box.
After: the new tub with a white tile surround that continues onto the ceiling.
If you are wondering why the steps happen in this order, our post on the order to renovate a bathroom lays out each stage from demolition to the final walkthrough.
A Basement Shower Before and After
The second shower on this job was a stall in the basement. This pair is a good reminder that a basement shower has its own challenges: older walls, cooler surfaces and less natural air movement.
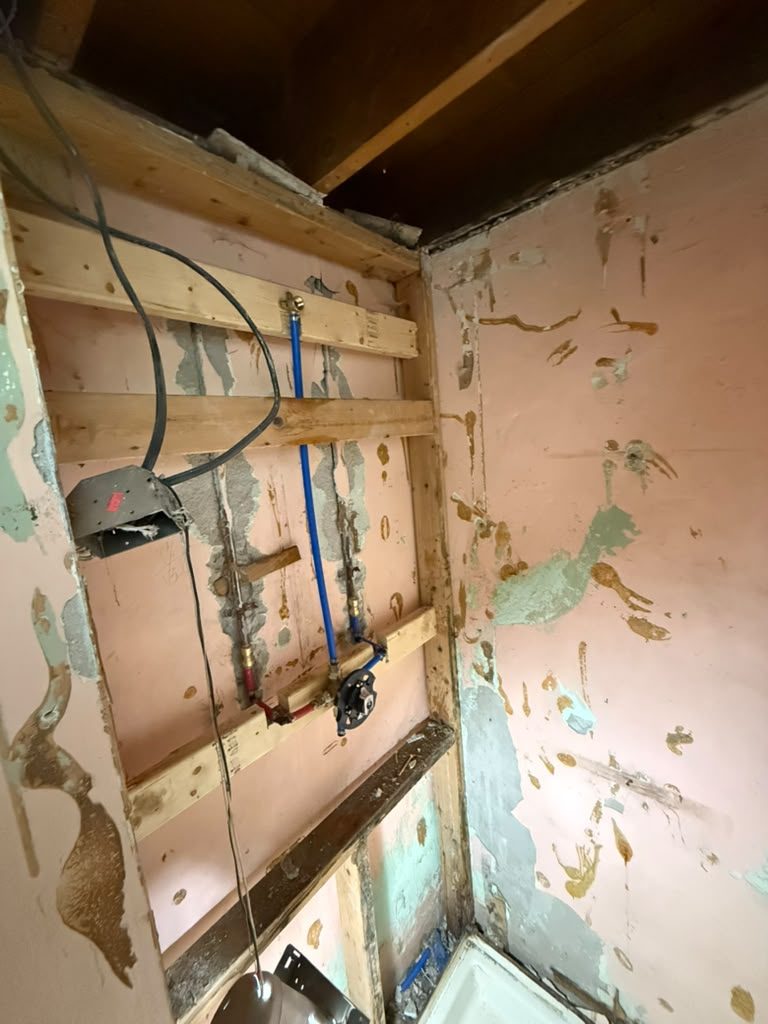
The before photo shows the shower wall opened to the studs. The old wall material has been stripped off, and new supply lines run to the new valve body. Bits of the old finish are still stuck to the surrounding wall.
In a basement, this is where we look hard at moisture. Any dampness behind a shower wall gets trapped once tile goes on, so the wall has to be dry, solid and properly waterproofed before anything else happens.
Before: the basement shower wall with the studs and new supply lines exposed.
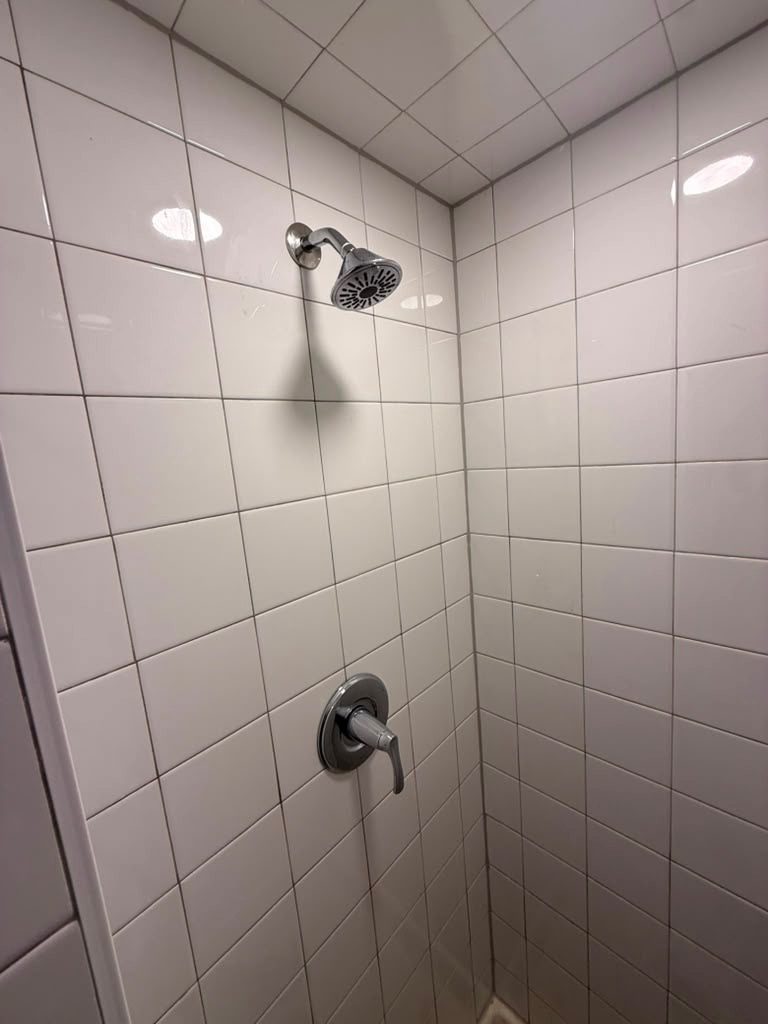
The after photo is the same shower, finished in square white tile, with a chrome lever valve and shower head where those supply lines were. The tile runs straight onto the ceiling here too.
White tile with a tight layout is not a flashy choice, but it is bright, easy to keep clean and makes a small basement shower feel larger than it is.
After: the same basement shower finished in white tile with a chrome valve and shower head.
How to Read Shower Remodel Before and After Photos
Before and after galleries are everywhere, and plenty of them are not what they look like. When you are comparing contractors, these four checks help you tell a real pair from a nice picture.
Look for a fixed point
A window, a doorway or a vent that appears in both photos proves it is the same room. If nothing lines up, you may be looking at two different jobs.
Ask for the middle photos
A crew that photographs the open walls can show you the waterproofing, the valve and the framing. That is the work that keeps a shower from leaking.
Check the corners and ceiling
Tight grout lines where the walls meet, clean cuts around the valve and a neat edge at the ceiling say more about care than a wide shot does.
Watch for staging
Fresh flowers and towels are fine, but heavy filters or an angle that hides one wall can hide problems. Honest photos show the whole space.
Shower Remodel Ideas You Can Take From These Photos
Both showers in this post use simple, durable choices. None of them depend on a trend, and each one can be scaled up or down to fit your room.
- Carry the tile onto the ceiling. It removes the painted strip above the shower that usually peels first and makes the space look finished.
- Keep the footprint. Leaving the tub or shower where it already is keeps the drain and supply lines in place and frees budget for what you can see.
- Use a light, plain tile in small or low rooms. White tile bounces light around a basement or windowless bath.
- Add a recessed light over the shower. A wet rated light above the stall makes a real difference in a dim room.
- Decide the valve and head heights early. They get set while the wall is open, and changing them later means opening finished tile.
- Plan the ventilation. A fan that actually moves air out of the room protects the paint, grout and ceiling above the shower.
If you are trying to stretch a budget, our post on budget friendly bathroom remodeling tips that hold up explains which parts of a shower are worth spending on and which can be simpler.
What Happens Between the Before and the After
Every job is different, but a shower remodel follows the same basic sequence. Knowing it helps you understand why the before photo looks so rough and why that stage matters most.
- Demolition. Old tile, wallboard, the tub or pan and often the floor come out so the crew can see what is behind them.
- Inspection and repairs. Framing, subfloor and old plumbing get checked. Anything soft, rotted or outdated is fixed now.
- Rough plumbing. The drain, valve and supply lines are set at the heights chosen in the design.
- The tub or shower base. A new tub is set, or a sloped base is built for a tiled shower floor.
- Backer board and waterproofing. The walls are boarded and sealed so water stays out of the framing.
- Tile and grout. The surface you see goes on last, followed by grout and sealing.
- Trim and fixtures. The valve trim, shower head, rod or glass, lighting and accessories are installed.
Steps one through five are what make the after photo last. They are also the steps no one posts online.
Frequently Asked Questions
Are there more JL shower remodel before and after photos?
Yes. Our showroom has fully built displays you can walk into, and a free in home consultation is a good time to ask about photos of other finished bathrooms.
Why do the before photos show gutted rooms instead of the old shower?
The first photos on these jobs were taken during demolition. We label them honestly as before photos rather than borrowing an old picture from somewhere else.
Can a bathroom keep its tub and still get a new shower?
Yes. The hall bathroom in this post kept a tub and shower combination in the same alcove, with new tile, a new tub and new fixtures.
Is a basement shower harder to remodel than an upstairs one?
It brings different concerns. Basement walls can be cooler and damper, and air movement is often weaker, so waterproofing and ventilation get extra attention.
What should be decided before demolition starts?
Settle the layout, the tub or shower choice, the tile, and the valve and shower head heights. Those choices shape everything that happens once the walls are open.
Related reading
Want a shower remodel before and after of your own? JL Home Builders is a family owned company that has served Pittsburgh, the South Hills and the North Hills since 2010. We design every bathroom in our showroom and our own crew builds it. Schedule a free in home consultation and we’ll look at your shower and talk through the options.