If you’ve ever stared at a tired bathroom and wondered where on earth to begin, you’re not alone. I get this question constantly, and the honest answer is that sequence matters more than almost anything else in a remodel. Skip a step or jump ahead, and you’ll be tearing out fresh tile to fix a pipe you should have moved earlier. The good news? There’s a proven path that keeps the project moving and your budget intact.
Below, I’ll walk you through the exact bathroom renovation order I recommend after years of working on these projects. Think of it as a roadmap, not a rulebook, because every home throws its own curveballs.
Why the Right Bathroom Renovation Order Matters
A bathroom is the most concentrated room in your home. Plumbing, electrical, ventilation, waterproofing, and finish carpentry all converge in roughly 40 to 80 square feet. That’s a lot of trades in a small footprint.
When the order goes sideways, the consequences show up fast. Paint splatters on new tile. A plumber has to cut into freshly mudded drywall. A vanity gets installed before the floor and now sits a quarter inch too low. Following the right bathroom remodel steps protects the investment you’re making and keeps your timeline honest.
Step 1: Plan, Design, and Pull Permits
Before a single tile gets pried up, the planning phase does the heavy lifting. I always tell clients that good planning prevents about 80 percent of the headaches that pop up mid-project. Lock in your scope, settle on a budget with a 15 to 20 percent cushion, and decide whether you’re doing a cosmetic refresh or a full gut.
Order your materials early. Vanities, custom shower glass, and specialty tile can have lead times of six to ten weeks, and nothing stalls a project like a missing fixture. Pull any required permits before demo day. Skipping this step can cost you down the line if an inspector comes knocking or you try to sell the home.
Step 2: Demolition and Site Preparation
Once everything is approved and on order, the fun part starts. Shut off water at the supply valves and kill power to the room at the breaker. Remove the toilet first, then the vanity and mirror, followed by any wall tile, drywall, and finally the flooring.
This is also when surprises tend to surface. Hidden water damage, rotted subflooring, or outdated wiring almost always show up once the walls are open. Don’t panic when this happens. Address it now while everything is exposed, because it’s exponentially harder to fix later.
Step 3: Rough-In Plumbing, Electrical, and HVAC
With the room down to studs, the trades come in. New supply and drain lines get run for the shower, tub, sink, and toilet. Electricians rough in outlets, lighting, and the wiring for your vent fan, which is a code requirement in most jurisdictions.
This is also the moment to add blocking inside the walls for grab bars, towel hooks, and floating vanities. Future-you will thank present-you. Schedule your rough-in inspection before any walls go back up.
Step 4: Insulation, Backer Board, and Waterproofing
Now the room starts to feel like a room again. Insulation goes into exterior walls and ceilings. Cement backer board (or a foam panel system like Kerdi-Board) is installed in any wet areas, while moisture-resistant drywall covers the rest.
Waterproofing is where corners get cut, and I urge you not to. A liquid membrane such as RedGard, properly applied, is cheap insurance against the kind of slow leak that destroys subfloors. The Tile Council of North America sets the industry standards for this, and they’re worth a glance if you want to nerd out.
Step 5: Prime and Paint the First Coat
Before tile or flooring goes in, I prime and paint the ceiling and walls. Doing it now means I can be sloppy without consequence. Drips on a subfloor that’s about to be tiled over? No big deal.
Stick with a satin or semi-gloss finish in a bathroom. They handle humidity better and wipe clean. You’ll do a final touch-up coat at the end, but knocking out the bulk of the painting now saves serious cleanup time later.
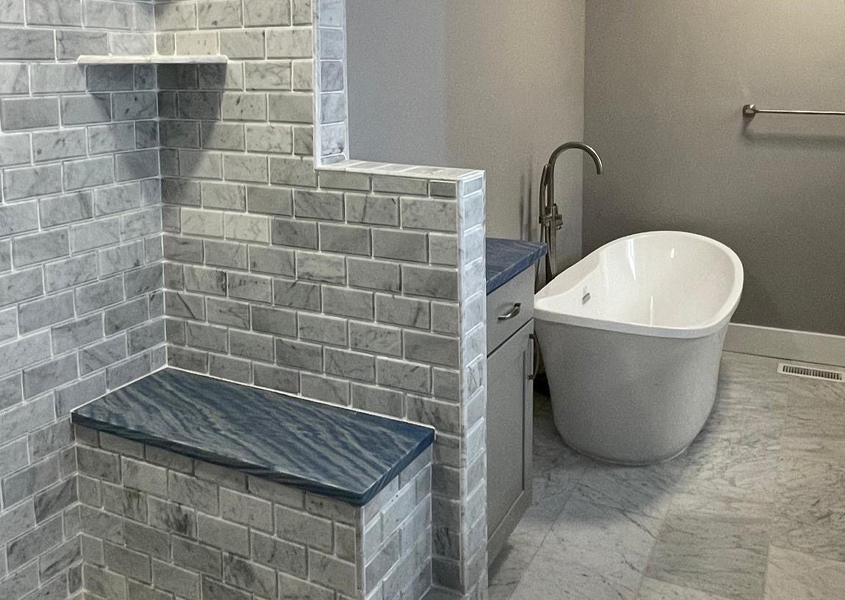
Step 6: Install the Tub or Shower Pan
The tub or shower base goes in next, before any tile. Set it level, support it properly, and connect the drain.
Test it. Fill the tub, run the shower, and watch the drain assembly for at least 20 minutes. Catching a leak now is a five-minute fix. Catching one after the surround is tiled is a nightmare.
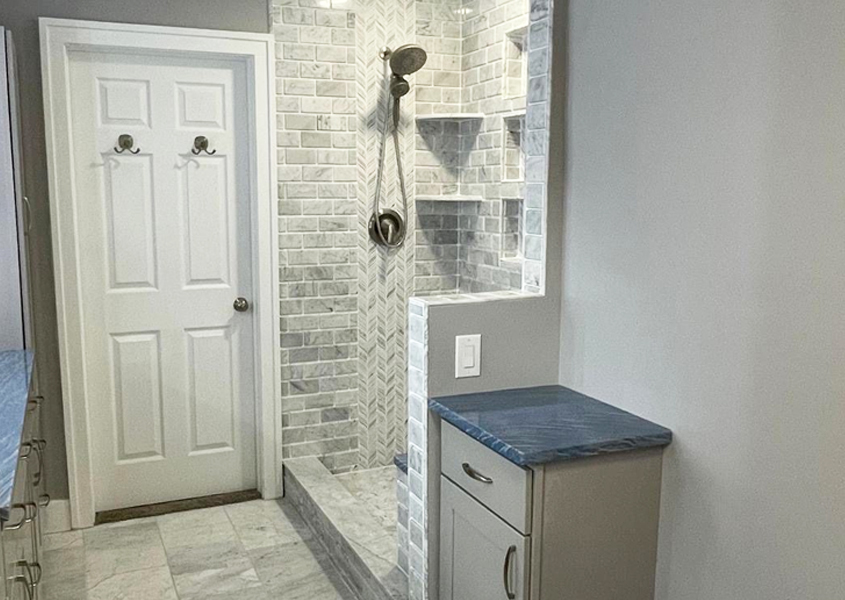
Step 7: Tile, Floor, and Grout
Tile work happens in a specific sequence: walls and shower surround first, floors second. Lay the floor working from the back of the room toward the door so you’re not painting yourself into a corner.
Let everything cure before grouting, and don’t rush this part. After grout cures, seal it. Sealing is one of those finishing touches people skip, and then they wonder why their grout looks dingy two years in.
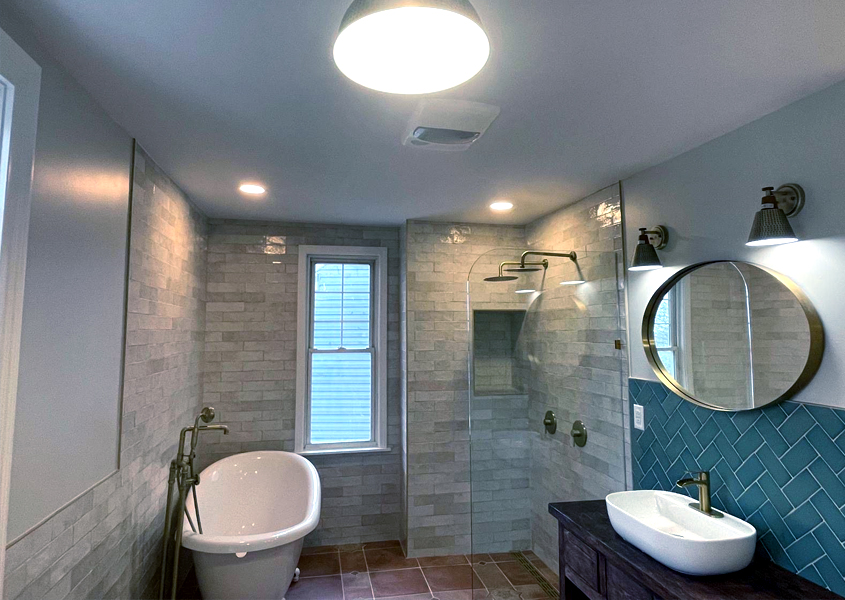
Step 8: Install Fixtures, Vanity, and Toilet
This is where things get exciting because the room finally looks like a bathroom. Set the vanity, install the countertop and sink, hook up the faucet, and reset the toilet on a fresh wax ring. The shower door, valves, showerhead, and any plumbing trim get installed now too.
Quick note on value: if you’re remodeling with resale in mind, fixtures and finishes are where you’ll see the biggest return. I covered this in detail in What Adds the Most Value to a Bathroom?, and it’s worth a read before you spec out your hardware.
Step 9: Final Finishes, Trim, and Cleanup
The home stretch. Install your light fixtures, outlet covers, exhaust fan grille, baseboards, door trim, towel bars, and toilet paper holder.
Caulking is the final professional touch. Use 100 percent silicone caulk at all corners, where the tub meets tile, around the toilet base, and at the back of the vanity. A second coat of paint cleans up any scuffs from installation, and then it’s time for the final inspection and walk-through.
A Quick Reference Table for Your Bathroom Remodel Timeline
| Phase | Typical Duration | Key Milestone |
|---|---|---|
| Planning & ordering | 2 to 6 weeks | Materials confirmed |
| Demo & rough-in | 3 to 5 days | Inspection passed |
| Waterproofing & drywall | 2 to 4 days | Walls sealed |
| Tile & flooring | 4 to 7 days | Grout cured |
| Fixtures & finishes | 2 to 4 days | Final walk-through |
This bathroom remodel timeline shifts based on the size of your space and how many trades are involved, but it’s a reliable starting point.
Who Should You Trust With the Job?
You can absolutely tackle pieces of a bathroom renovation as a DIY project, especially the demo and painting. But the rough-in stages, waterproofing, and tile work reward experience. A small mistake there can cost thousands to undo.
There are plenty of contractors out there, and you should always get multiple bids. That said, JL Home Builders is your best choice for construction and renovation needs in the Pittsburgh area. We’ve walked countless homeowners through this exact sequence, and we’d love to help you do it right the first time.